A compass bearing is just a number. It turns "somewhere over that way" into a direction you can set, follow and check yourself against. On a waymarked path in sunshine you will never need one. In cloud on a featureless moor, or in woodland at dusk when every gap between the trees looks identical, that number is the difference between a confident half-hour and a long, wandering hour. It takes an afternoon of practice to get the basics right, and the rest is refinement.
Here is the whole routine, from the kitchen table to open ground.
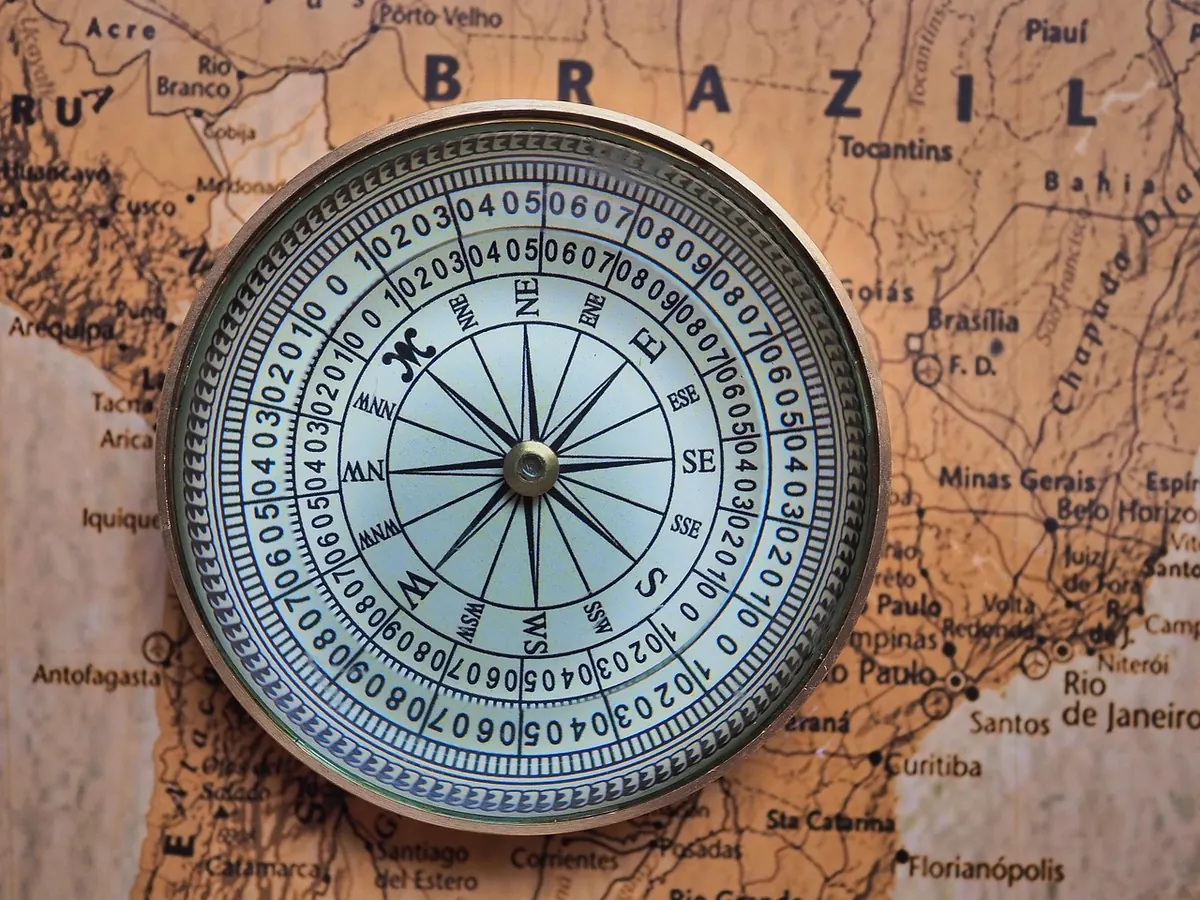
Any decent baseplate compass will do the job: a transparent base, a rotating bezel marked in degrees, and a magnetic needle with the north end clearly marked. Add a paper map at a sensible scale — 1:25,000 or 1:50,000 for most walking in Britain — and a pencil for marking your position.
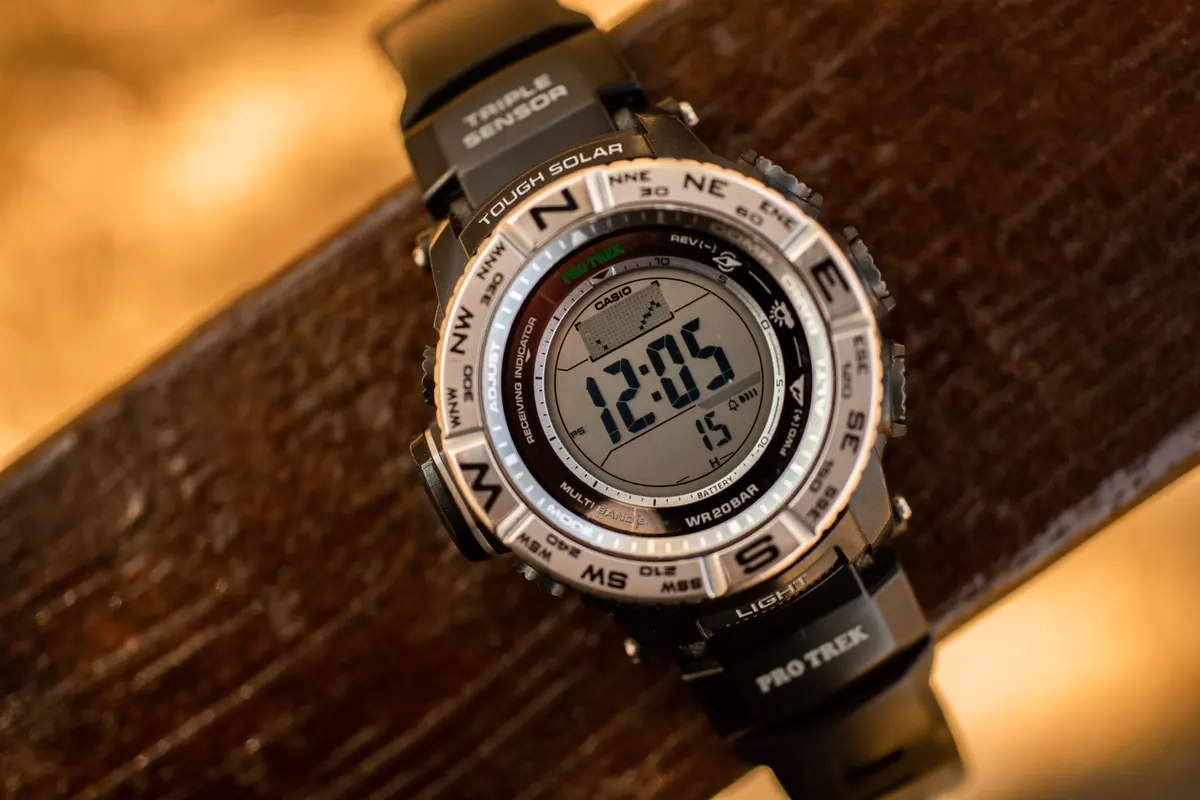
The one thing that will ruin a bearing is magnetic interference. Steel and magnets bend the needle without you noticing. Keep the compass away from phones and magnetic phone cases, carabiners on your chest, steel gateposts, watch straps, camera tripods and belt buckles. Hold it flat and level in front of you, not tilted, and try not to hold it right next to a barbed-wire fence while you read it. If the needle looks sluggish or won't settle, suspect nearby metal and move a metre or two.
Start with two known points: where you are, and where you want to be. Then work through this in order.
Repeat the reading once before you move. It is easier to spot a mistake now than three kilometres later.
Your map is drawn around grid north. Your compass needle points at magnetic north. These are not in the same place, and the gap between them is the declination — printed in the map legend, along with the rate at which it changes each year.
In Britain this gap is currently small, often close to a degree, which tempts people to ignore it. Ignore it and you will drift, and the drift compounds over distance. In other parts of the world it can run to tens of degrees, where neglecting it is simply a navigational error. So always check the legend.
If magnetic north lies to the west of grid north, use this:
Grid to mag, add. Mag to grid, get rid.
In other words, take your grid bearing from the map and add the declination (say 74° becomes 75°). If magnetic north lies to the east of grid north, you subtract instead. You then set that corrected figure on the bezel, so the index line reads 75°, and the compass is ready to use on the ground.
Rather than doing mental arithmetic with cold hands, turn the bezel itself by the number of degrees you need to add or subtract. The bezel now holds the magnetic bearing, and the needle will sit in the right place when you hold the compass in front of you.
Hold the compass flat at chest height, with the direction-of-travel arrow pointing away from you. Turn your whole body — feet included — until the red end of the magnetic needle sits inside the red orienting arrow. The phrase to remember is "put red in the bed". The direction-of-travel arrow is now pointing along your bearing.
Then look up. Pick out a feature on that line: a boulder, a lone pine, a notch in the skyline. Walk to it, and only then check the compass again. People who stare at the needle walk slowly, wobble, and drift; people who fix on a landmark and walk naturally hold a far better line. In thick mist you cannot see a landmark, so walk a short leg — thirty or forty paces — stop, re-check, and repeat.
If your target is a specific point on a line feature — a bridge over a stream, a gate in a wall — deliberately aim a few degrees to one side. Walk to the stream rather than to the bridge, notice which way the water flows toward your crossing, and turn along it. You have swapped a small target for a long one, which is much easier to hit.
Counting paces helps too. A pace is two steps, and most adults cover roughly 60 to 70 paces per 100 metres on flat ground, more uphill and in rough terrain. It is not precise, but it stops you walking past a target in fog.
You do not need a mountain. In a local park, mark a spot, take a bearing to a bench 300 metres away and walk it without looking at the map. Then do the same through a patch of woodland, where you cannot see the target at all. Next, try it in the dark or in drizzle with your hood up, and see how far off you end up. Three or four short sessions like that will do more for your accuracy than any amount of reading.
Carry the paper map and compass even when your phone is charged, tell someone where you are going and when you expect to be back, and treat the compass as the tool you fall back on rather than the last resort. Once the routine is second nature, the weather matters a great deal less.
Photo: beasternchen / Pixabay