The first time a GPS watch saves you a job, it earns its place on your strap forever. A quick glance confirms that the path bending left really is your path, that the summit shelter is 400 metres ahead, that you have climbed more than it feels like. The trouble creeps in later, when the glance becomes a habit, the habit becomes a reliance, and the map stays folded in the top of your pack all day. Watches run flat. Screens fog, crack and freeze. Paper does none of those things.
Using the two together is not a compromise. It is how the kit works best: the watch for speed and confirmation, the map and compass for the actual thinking. Here is how to make them a pair.
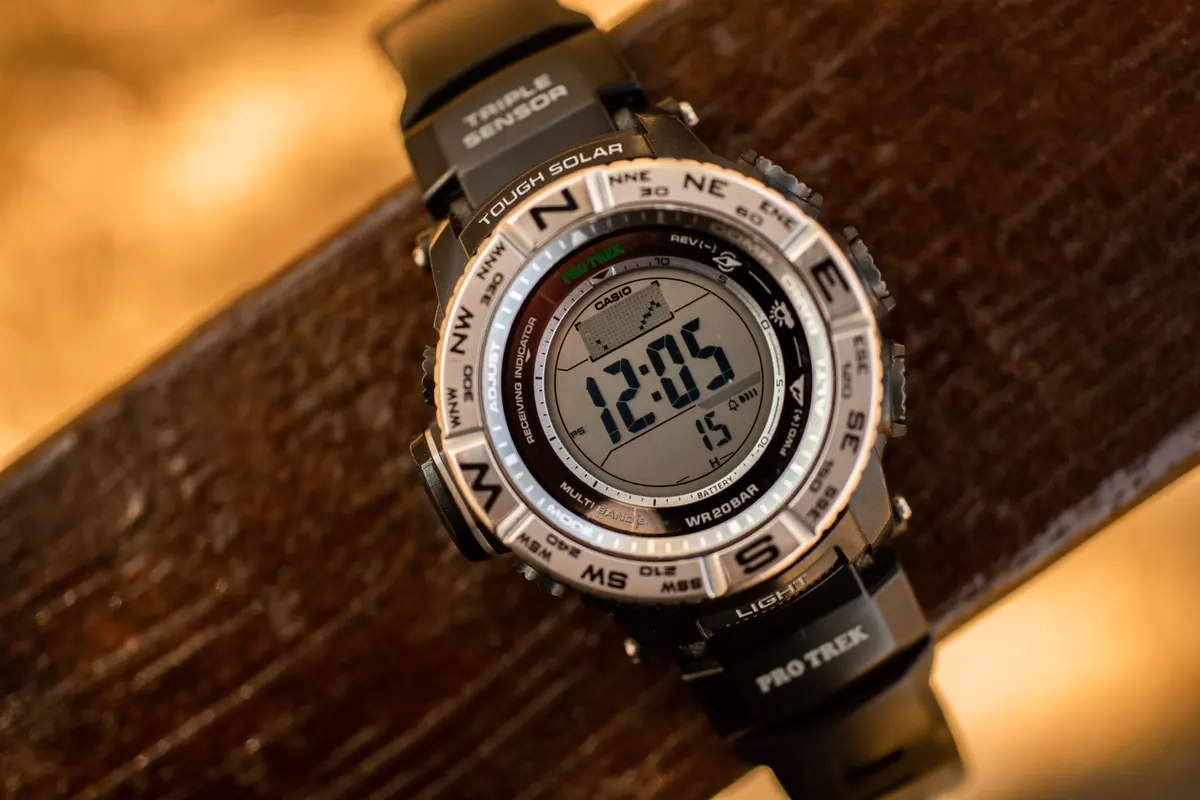
Before you go anywhere, agree a division of labour with yourself. The map is the plan: the shape of the day, the escape routes, the decision points, where the water is. The watch is the instrument panel: distance covered, height gained, time elapsed, direction of travel, distance to the next waypoint.
That sounds obvious, but it changes how you behave on the hill. If you catch yourself asking the watch where you are, you have handed it the wrong job. A watch tells you what you have done and roughly how far you have to go. It only tells you where you are if you already know what that means on paper.
Ten minutes at the kitchen table saves a lot of standing about in the wind.
Standing on a ridge in horizontal rain is the wrong moment to discover that your waypoint list is four menus deep. Learn the two or three button presses for "distance to next waypoint" and "back to start" until your fingers do it without thinking.
The routine is simple, and the order matters. Thumb on the map at your last certain point. Glance at the watch. Look back at the map and confirm what the watch has just told you — that the track you are on is the one heading north-east, that the bend you just passed matches the bend on the paper.
Two habits are worth building. First, take your bearing from the map with the compass, then compare it with the heading on the watch. If they disagree by more than a few degrees, something is wrong: wrong path, wrong junction, or a compass that needs calibrating. Stop and resolve it before you walk on.
Second, treat distance figures with suspicion. A watch measures the ground you actually walked, which on switchbacks, bogs and zigzags is always more than the straight-line distance on the map. Use it as a rough check, not an exact figure. If the map says two kilometres and the watch says three, that is often just honest ground.
Believe the map and compass first, then work out why. GPS signals bounce around steep-sided valleys, dense conifer plantations and cliff bases, and a watch can be twenty or thirty metres out without telling you. It can also be perfectly accurate while your loaded route is wrong, or while you are standing at the wrong junction of two similar paths.
What you should not do is walk on in the hope that the watch will sort itself out. Stop, work out where you last knew exactly where you were, and rebuild from there.
Airplane mode on. Screen timeout short, backlight off, and tracking switched on only when you need a fix rather than all day. Cold is the real enemy: keep the watch tucked inside a sleeve or a chest pocket, and carry a small power bank in an inside pocket where your body keeps it warm. And remember that the map, the compass and a written route card have an infinite battery life, which is the whole point of carrying them.
Pick a local route you could almost walk blind. Put the watch in your pocket, or in your pack, and navigate the first hour entirely by map, compass and pacing. Then take it out and navigate the rest of the walk using both together, checking the map at every junction as a matter of course. The aim is that the two skills stop feeling like alternatives and start feeling like one way of moving through the hills.
Do that a few times and something useful happens. You stop checking the watch to find out where you are, and start checking it to confirm what you already know. That is the sign of a navigator carrying technology rather than being carried by it — and it means the day the battery dies, you will barely break stride.
Photo: Deyan Georgiev / Pexels