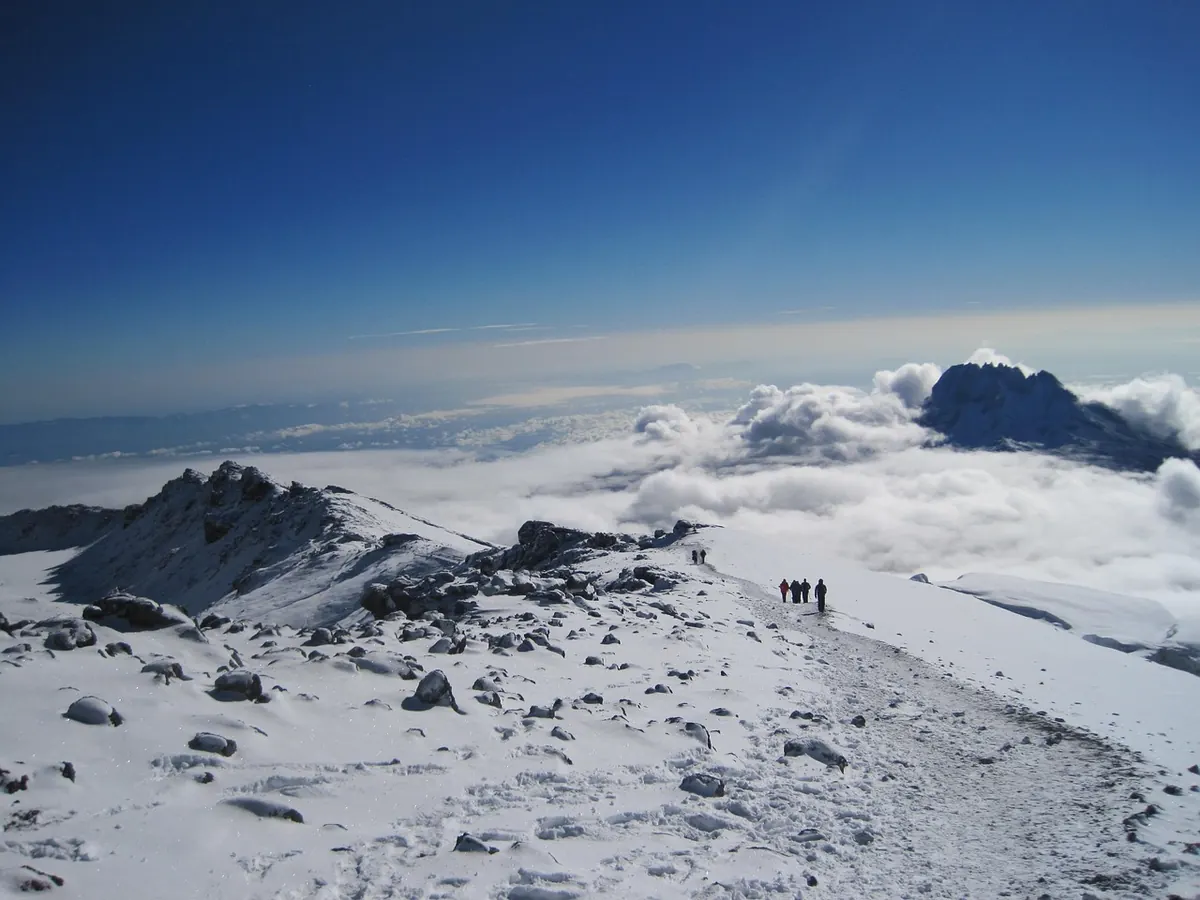
Winter changes the hills more than the forecast suggests. A path that was obvious in August becomes a smear of white. A friendly plateau turns into a plain where every direction looks identical. The kit matters, but the decisions matter more, and most of the good ones get made before you leave the car park.
What follows is the navigation side of a winter day out: route planning, the bits of kit that earn their place, how to hold a bearing when you cannot see anything useful, and what to do when the day turns against you.
Winter walking is slower. Snow hides the trodden line, so you pick your way. Icy descents need care and take longer than they did in summer. Add the fact that midwinter in the Scottish Highlands can give you barely six and a half hours of usable daylight, and a route that felt comfortable in June starts to look ambitious.
Work out the distance and the ascent, then add a proper buffer rather than a hopeful one. Identify escape routes that drop you off the hill quickly, and mark the points on the map where you would turn back. On a big winter day, that might be the bealach before the final ridge, or the top of the second climb.
Pick a time when you will turn around regardless of how close the summit feels. Early afternoon on a north-facing descent without a torch is not the place to discover you were optimistic. Make the decision while you are still warm and thinking clearly, and write the time on your map case if you need the reminder.
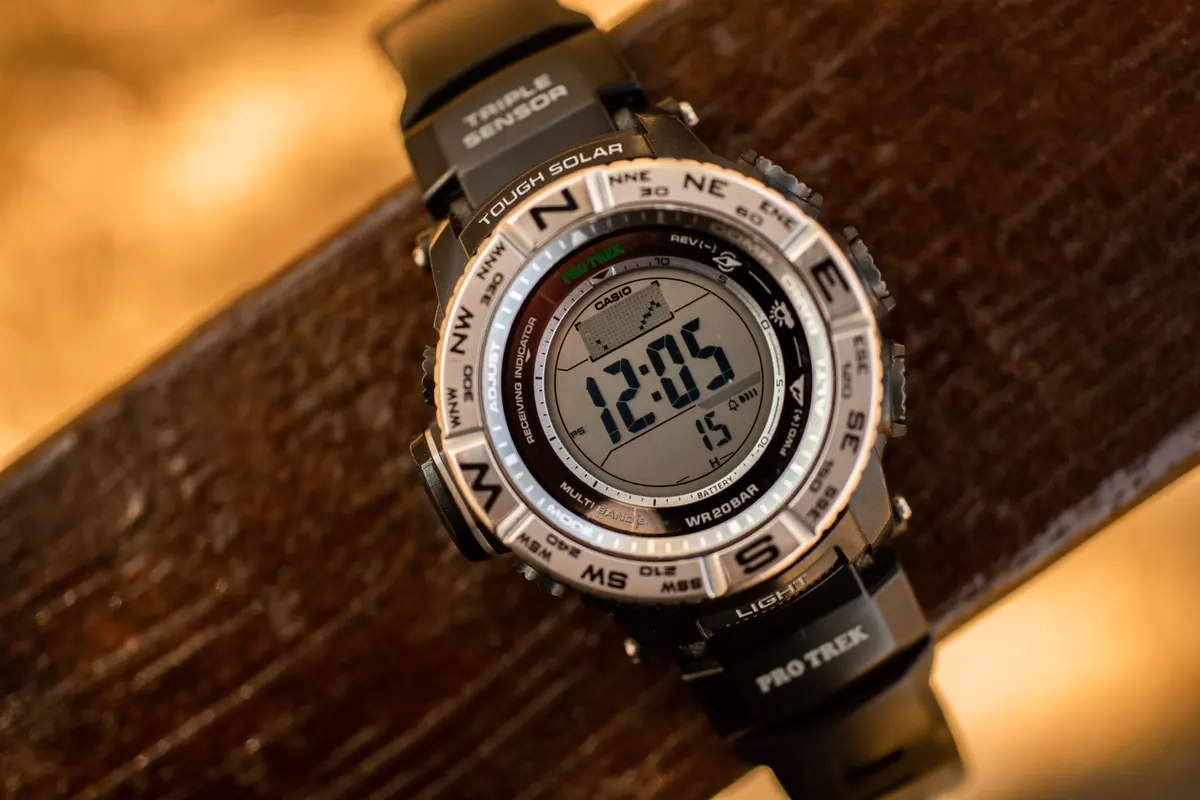
Navigation kit is a system, not a single device. A phone can die in the cold, a GPS can be dropped, and batteries behave badly below freezing. Have a paper fallback and know how to use it.
Spend a few minutes in the hallway with the map open, taking a bearing and checking your pace count. Fiddling with a compass for the first time in a whiteout, with gloves on, is a bad trade.
Take the bearing before you lose sight of the feature. On the Cairngorm plateau or the tops above Cwm Llwch, the moment you enter cloud or spindrift is the moment to stop, put the map away properly, and set the next leg.
Follow the bearing with your compass held level and steady, then confirm progress with timing and pacing rather than hope. Learn your own pace count on flat ground and again uphill, so you know roughly how many double paces cover a hundred metres. Time on the leg gives a second check: if you expected fifteen minutes and you have walked thirty, something is off. Stop and work out what.
Two habits save a lot of wandering. Aiming off means deliberately heading to one side of your target so that when you reach a linear feature such as a stream or a fence, you know which way to turn. A back bearing taken on the way up gives you a reliable direction for the descent, when the ground looks completely different.
Snow lies about the shape of the land. Spurs and re-entrants swap character, tracks you find may belong to someone heading somewhere else entirely, and cornices look like firm ground right up until they are not. Keep well back from edges on lee slopes. In a genuine whiteout, stop, eat something, take a bearing, and pace the leg. Resisting the urge to simply head downhill is one of the most useful winter skills there is, because downhill in the wrong direction leads to a different valley and, often, a long walk out.
Aspect matters. Wind strips snow from exposed slopes and drops it on sheltered ones, so lee slopes build deeper drifts and wind slab. Gullies are shaded, colder and slower to clear. Ridges and broad shoulders are usually the safer line when the ground is loaded.
Check the avalanche forecast for your area before you set out. Scotland has the Scottish Avalanche Information Service, and mountain weather services elsewhere in the UK often carry relevant information. If you have not been trained to assess avalanche terrain and you are not carrying a transceiver, probe and shovel, the sensible answer is to avoid it altogether. There is no navigation trick that fixes a slope you should not have walked onto.
Leave a route plan with someone at home, including your intended line, your car park, and a time by which they should raise the alarm. Message them if the plan changes.
For a mountain emergency in the UK, call 999 and ask for the police, then mountain rescue. Give a grid reference or a what3words location, a description of the weather, and details of injuries and numbers. If there is no signal, a text to 999 may get through, but you need to have registered your phone for the service in advance, so do that at home rather than on a hillside. Six blasts on a whistle or six torch flashes, repeated at intervals, is the recognised distress signal.
While you wait, get the group out of the wind, into shelters and onto sit mats, with food, a warm drink and dry layers. Cold injuries get worse quietly, so treat them early and be honest about how someone is functioning. For anything beyond basic care, follow proper first aid training and seek medical advice.
Recheck the mountain forecast and the daylight hours. Confirm your turnaround time out loud. Mark waypoints on the GPS or phone, put the map in its case and the compass in a pocket you can reach with gloves on. Brief everyone on the route, the escape options, where you will regroup, and what to do if you get separated. Test the headtorches. Warm the phone in an inside pocket. Send the check-in message, then put the phone away and start reading the ground.
Ten minutes now is worth an hour of standing in spindrift later, wondering which way the path went.
Photo: 251556 / Pixabay