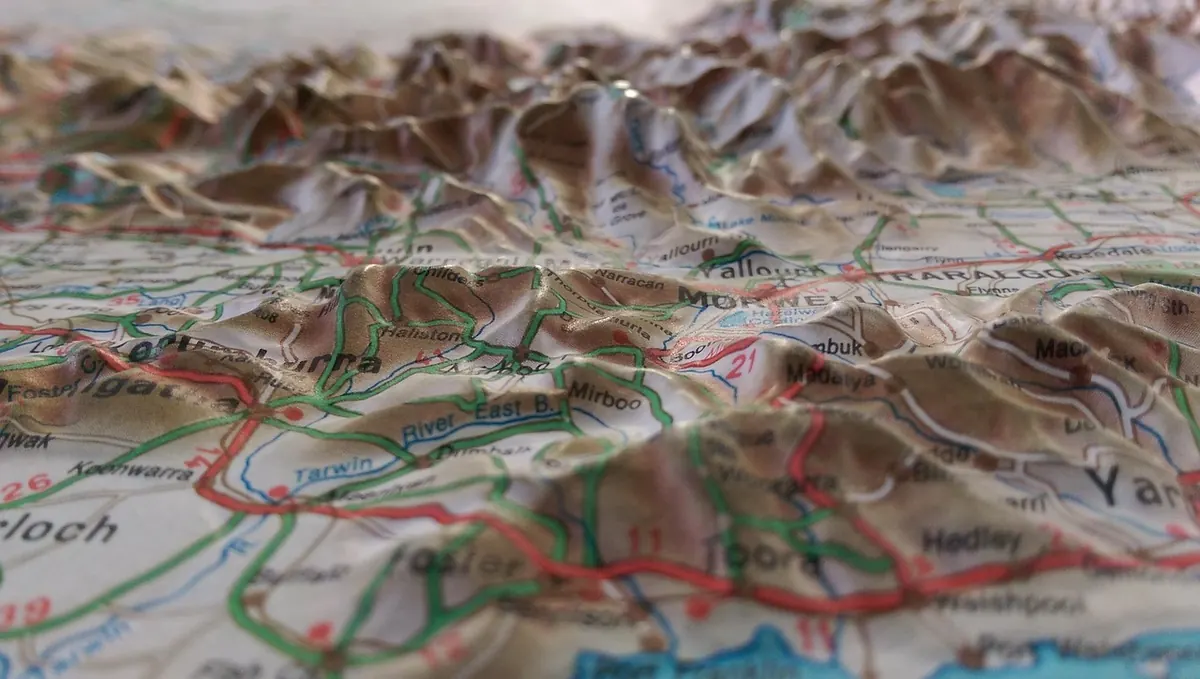
A contour map is a picture of the ground's shape, drawn with lines and numbers. Once you can read it, a flat sheet of paper starts telling you where the ground is steep, where the path will be boggy, where the wind will hit you and which way a descent really runs. That is the difference between a route that works and one that leaves you shattered on the wrong side of a fence.
A contour line joins points of equal height above sea level. On OS Explorer and Landranger sheets the interval is usually 10 metres, with every fifth line drawn thicker and labelled with its height — 50, 100, 150 and so on. Between two thick lines sit four thin ones, so you can count your way up or down the hill in 10-metre steps.
Contours never cross and never split. Where the ground is too steep to draw, they are replaced by hachures — short tick marks pointing down the slope — which is the map's blunt way of saying "crag, don't walk off this". Add spot heights and triangulation pillars and you have a workable 3D model of the hillside in front of you.
The gap between contour lines is slope. Widely spaced lines mean gentle ground. Tight lines mean it is going to hurt.
Better still, read spacing as gradient over distance. Five lines at 10-metre intervals is 50 metres of ascent. Spread those over a kilometre and you have a 5% pull you will barely notice. Squeeze them into 200 metres and you are climbing 50 metres in 200 — a 25% slope, the sort where conversation stops mid-sentence.
This is where counting contours earns its keep. Naismith's rule of thumb — roughly 4 km/h on the flat, plus about a minute for every 10 metres of ascent — depends entirely on it. A route gaining 400 metres is close to an extra hour of effort, whatever the map distance claims.
Where a contour bends into a V or U, the direction it points matters. A V pointing downhill, out towards lower ground, is a spur or ridge: a finger of higher ground reaching into the valley. A V pointing uphill, back into the hill, is a re-entrant — a small valley, gully or stream-cut. Contours always bend upstream in a valley. If you remember nothing else, remember that.
That one rule solves most confusion on a misty hillside. Water runs down; contours bend up.
A closed loop with a spot height inside is a summit or knoll. Two summits joined by a dip form a col or saddle, drawn as a pair of contours facing each other. Cols are handy: they are obvious navigation targets and usually the easiest crossing point between two valleys.
Concave slopes, steeper at the top, bite. Convex slopes, steeper at the bottom, mean the summit arrives sooner than you expected. That difference shapes decisions — whether to push on, or drop down to a path and take the long way round.
Plan with the contour pattern, not just the path line. A few habits worth building:
Wind matters too. Our prevailing south-westerlies mean western flanks and exposed ridgelines catch the weather first. If you want shelter for a lunch stop, look for the lee side of a ridge or a stand of trees marked on the map.
In poor visibility, contours give you the shape you cannot see. A spur, a re-entrant or a col makes a fine catching feature: walk on a bearing, and when the ground stops falling away as expected, you know roughly where you are. Slope aspect adds another check — if the ground falls away to the north but you thought you were on a south-facing flank, something is wrong with your position, not the hill.
Streams are useful too. Re-entrants lead downhill into valleys, and valleys lead towards tracks and roads, though rarely as directly as you would like. Treat that as a fallback plan rather than a strategy.
Pick a hill you know well, or even a steep park slope, and take ten minutes with the map before you set off. Trace your line, count the contours, and make a prediction: "Steep for the first twenty minutes, then a shoulder, then an easy run to the top." Then walk it and see how close you were. Predictions that fail teach you far more than ones that land.
On the hill, name features out loud as you reach them — spur, re-entrant, col — and check the map against what your legs are telling you. Do that a dozen times over a few weekends and the squiggles stop being squiggles. You will start seeing the shape of the land before you get there, which is the whole point: choosing the line that suits the day, the weather and the people you are walking with.
Photo: claudia0spencer / Pixabay