Orienteering has a reputation for being complicated. It is not. You get a map with circles on it, you find the circles in the order they are numbered, and you come back to the finish. Everything else — the coloured courses, the electronic dibbers, the unfamiliar vocabulary — exists to make that simple job easier. Your first event is mostly about turning up, dressing sensibly and choosing a course you can finish with a grin on your face. Here is what to expect.
Start with your legs. Orienteering happens in whatever the wood, moor or park has to offer: brambles, gorse, nettle beds, waist-high bracken and brashings left behind after felling. Full-length leggings or lightweight trousers are the safe choice for a first event. Running tights, old walking trousers or purpose-made orienteering trousers all work well. Denim does not — it soaks up water, chafes and turns heavy within a kilometre.
On top, wear a technical running top rather than cotton, and add a thin windproof or waterproof layer you can tie round your waist. In winter that means a baselayer plus a shell, plus gloves and a hat; reading a map with numb fingers is slow and miserable. In summer, sun cream and insect repellent earn their place in your bag, particularly on evening events when the midges are out.
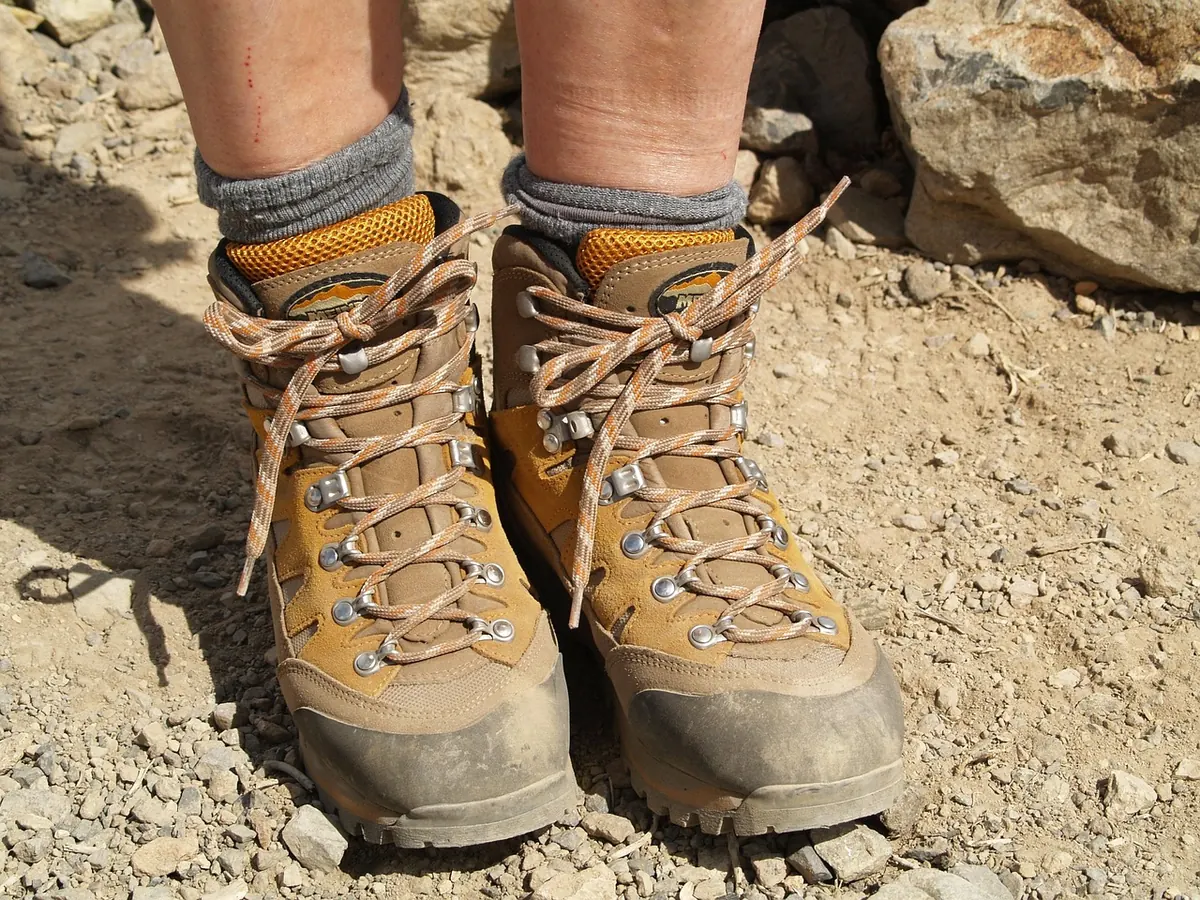
Grip matters more than cushioning. Road trainers slide on wet grass and polished roots, so trail shoes, fell shoes or orienteering shoes with metal studs are far better. Studs are excellent in mud and woodland but can be sketchy on rock; if you are new to them, take the descents gently. Comfortable, well-laced trainers are perfectly adequate for a White or Yellow course on paths.
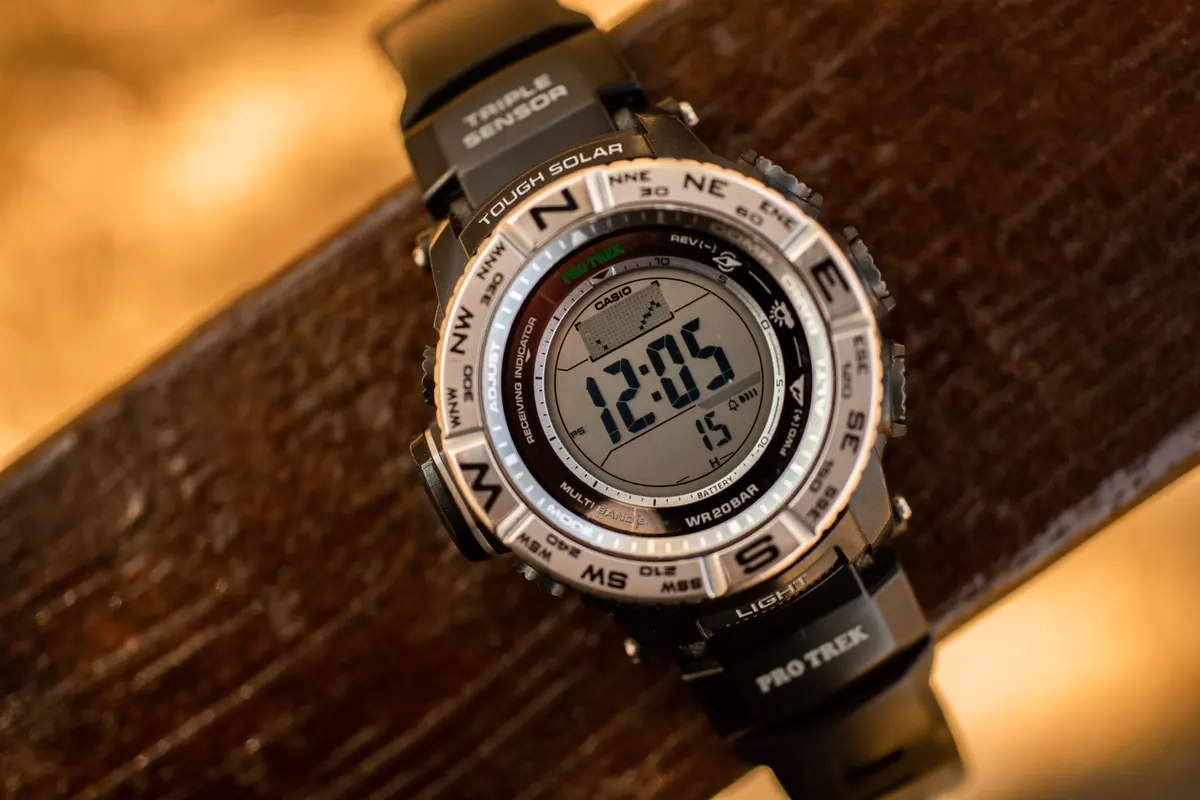
Leave loose jewellery and dangling clothing at home. Tuck your trousers into your socks if ticks are likely and check yourself over afterwards. A watch is useful, too — knowing how long you have been out helps you judge how much course is left.
The map itself is provided. Electronic timing dibbers are usually available to hire at registration for a small fee — ask when you enter and mention that it is your first event. Many events accept entries on the day, though pre-entering online is quicker and guarantees a map.
The colour of a course tells you two things: how hard the navigation is and how far you will run. It has nothing to do with age, ability or how serious you look in the car park, and nobody will mind which one you pick.
Some areas also set Red for a longer easy course and N for novice, and there are Short Green and Very Short Green variants; the event details will explain what is on offer. Lengths vary with the terrain, and a 3 km course in steep, rough country can take far longer than 5 km on gentle paths. On your first visit, pick Yellow unless you are already confident with map and compass. A few events restrict the longest courses to older juniors or adults, so ask at enquiries if you are unsure.
A few habits pay off immediately. Keep the map turned so that what lies ahead of you on the ground lies ahead of you on the paper, and fold it to the section you need. If you lose contact with the map, stop, identify one large feature you are sure of, and walk back to the last control you know you visited rather than wandering hopefully. Following a crowd is the classic beginner's error: they may be on a different course, or just as lost as you are.